
Kitchen remodeling in phases has its benefits. If you don’t have a lot of spare cash, you can pay as you go. Also, you have the chance to live with each new project to see how it works before you commit to the next phase. The only caveats: you need a well thought out kitchen design with careful planning so that each project supports the next one, AND, no matter how you approach your remodel, you always need to be prepared for surprises!
We’re almost finished with the final phase of our 1936 kitchen remodel and we couldn’t be happier with the results. We’ve incorporated some space maximizing design solutions that makes the tiny old kitchen live like a modern space. Check it out!
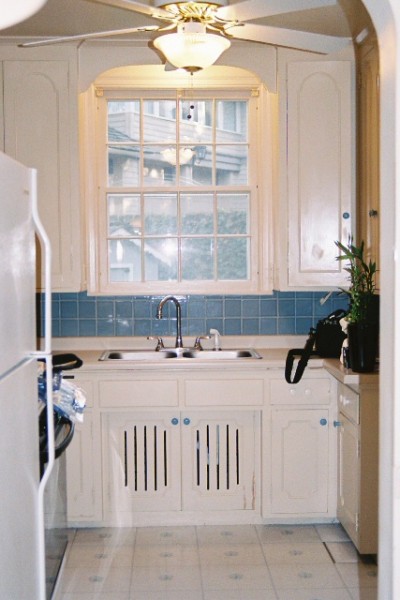
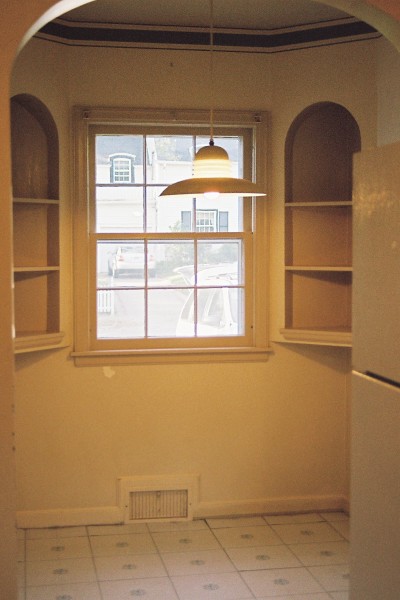
THE KITCHEN — BEFORE
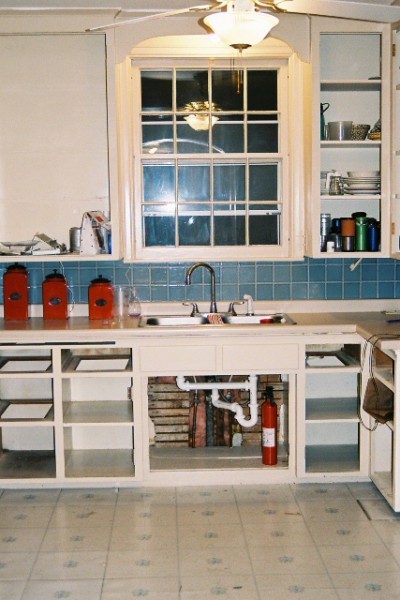
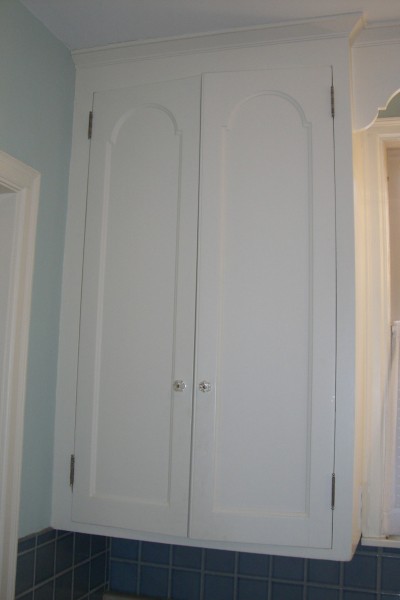
The original kitchen came with three charming features that we loved: original white inset door cabinets…
…a cozy kitchen nook, and loads of potential.
However it had no counter space, no place for a dishwasher or microwave…
…and a worn vinyl floor.
With no budget for tearing down walls or adding on, our goal was to keep the traditional feel, but bring it into the 21st century.
THE NEW PANTRY
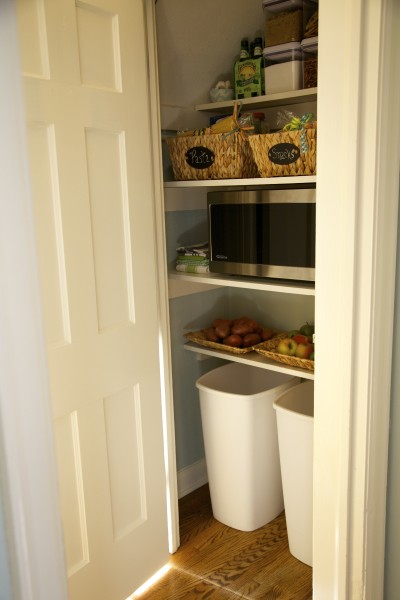
In my previous post, I showed how we repurposed the closet in the adjacent hallway to create a pantry for the microwave, recycling and food storage.
ADDRESSING THE CABINETS
Moving into the kitchen, we took off all the cabinet doors and removed the drawers, sending them out to be sprayed with a fresh coat of white enamel paint. I took on the job of painting the boxes with the same oil based enamel paint. I think spraying doors is the only way to go. I hate brush marks and knew that I could minimize them on the boxes, but with so much surface area on the doors–spraying them was the best option.
After the doors, drawers and boxes were painted, we added new hardware and were thrilled with the finished cabinets.
A NEW FLOOR
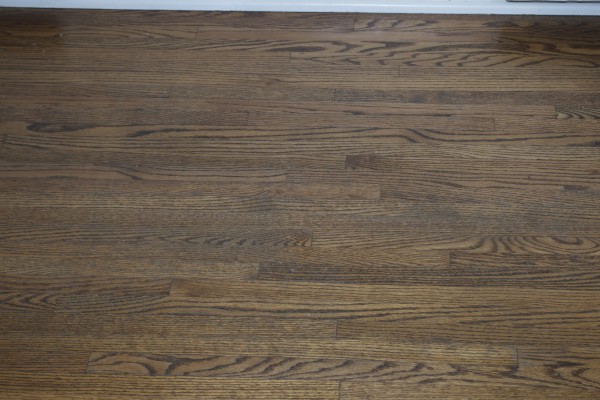
Next, we had 1-1/2 inch red oak floors installed in the kitchen. This is the same flooring that’s in the rest of the house, so it unifies the look and makes the kitchen floor feel original to the house.
ADDITIONAL CABINETS
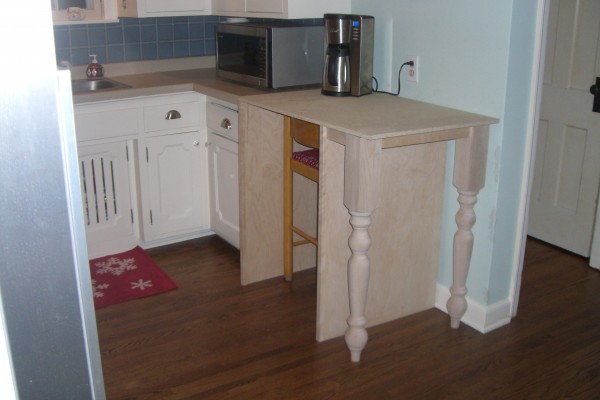
A few additional custom cabinet pieces were the key in making this small kitchen work. Jim and I sketched out the pieces and a custom cabinetmaker built them for us.
Two simple side panels with a table apron and turned farmhouse legs was the perfect solution for the dishwasher. This new unit is a little higher and deeper than the rest of the cabinets. That’s because the original 1936 cabinets weren’t made according to today’s standards. It might look a little wonky here, but just wait until you see it finished with a coat of paint, a beautiful countertop and a dishwasher inside–it’s pretty slick!
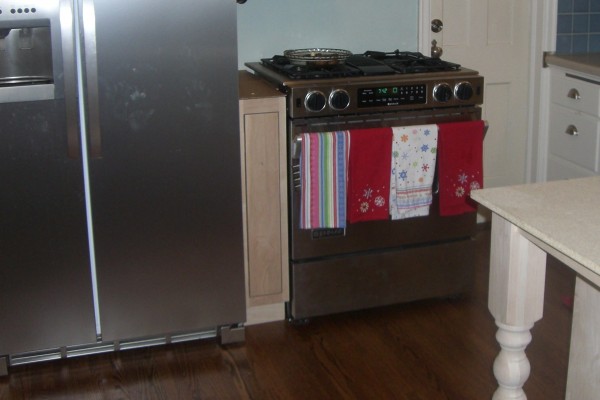
A narrow cookie sheet cabinet provides a little counter space next to the range. I would never design a kitchen without counter space on both sides of the range, but there are no other options so we play with the cards we’re dealt and it actually works okay. A little countertop is far better than no countertop.
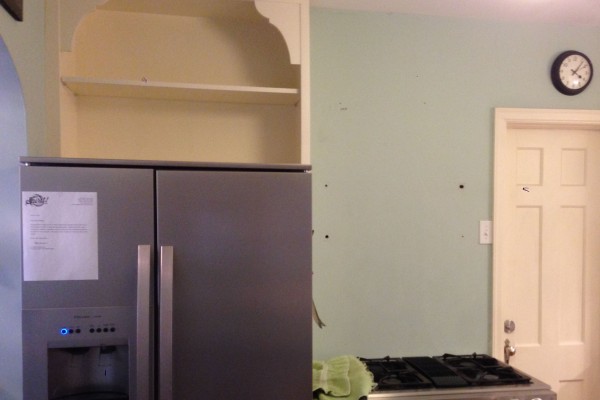
BUILT-IN REFRIGERATOR
An open shelf cabinet around the refrigerator gives it a built-in look. I went with open shelves for one simple reason–it was too expensive to match the unusual 1936 door style on the original cabinets.
VENT HOOD
The range is a downdraft, so we don’t need a vent hood, but it looked so naked. I know we could’ve put the microwave here, but I don’t love a microwave above the range. So we had a decorative vent hood built by the cabinetmaker. Right now, it’s just a cosmetic piece, but there is room for a vent, if we need one down the road.
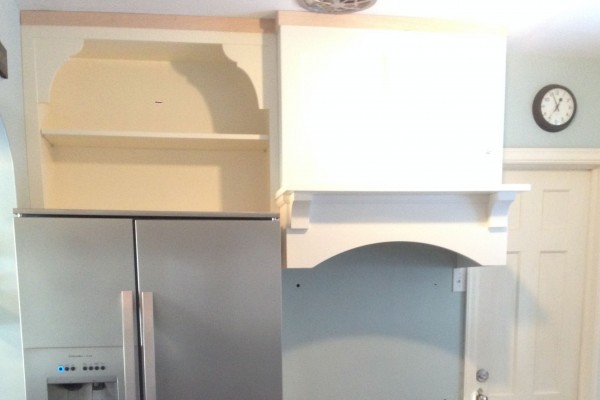
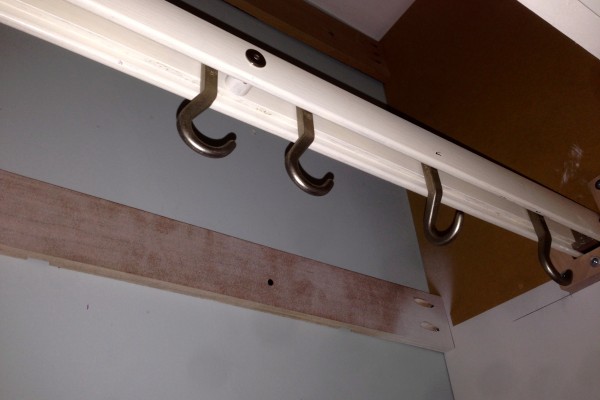
POT RACK IN VENT HOOD
I gave the cabinetmaker an old pot rack to incorporate inside the hood so that we can hang pans above the range. Storage is always at a premium in small kitchens so this solves another problem and keeps pots and pans easily accessible.
THE NOOK
Finally, we addressed the nook area. We had a counter height island made that’s the perfect size. Since this is a narrow area, getting a custom piece was the answer.

WAITING FOR COUNTERTOPS AND BACKSPLASH
We put a remnant piece of Carrara marble on the dishwasher cabinet…

….and a remnant of soapstone on the island. We lived with these for quite awhile. (Yes, that’s 4th of July food on the table.) We were debating between soapstone and Carrara for the entire kitchen, so this was the perfect way to live with both and see what we liked best–and save some money for countertops, sink, faucet and a backsplash.

THE BIG FINISH!
We just got all the new countertops installed so the entire kitchen is consistent and nearly complete. Can you guess what material we went with? It’s a good thing we waited on the countertops because we had one of those big “surprises” that made the project cost twice as much money as we planned. Stay tuned for that post and the after shots of the kitchen…as soon as we finish tiling the backsplash!
Share This: